HAProxying FastCGI
As discussed in a previous post, we at Sysbee love HAProxy, and we’re excited when new functionalities are added. HAProxy 2.1 introduced the ability to proxy requests directly to an FastCGI application, eliminating the need to pass the request to a web server to do the same thing.
In this post, we’re going to see a couple of tips and tricks we discovered while testing this new feature.
Please note that everything you’re going to see in this post has not yet been tested in a production environment, so you should take it with a grain of salt and consult your local sysadmin before deleting your web server and getting into trouble.
Setup
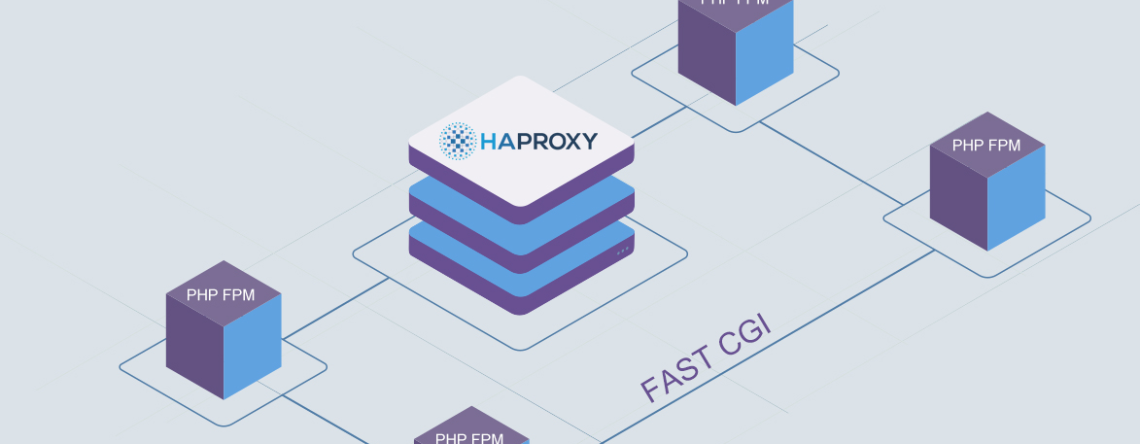
We’re going to proxy request form HAProxy to PHP-FPM.
PHP-FPM configuration
[testapp]
listen = 127.0.0.1:9001
pm = dynamic
pm.max_children = 20
pm.start_servers = 2
pm.min_spare_servers = 2
pm.max_spare_servers = 5
- [testapp] – will be our pool name
- listen = 127.0.0.1:9001 – we’re going to use a TCP socket for our FastCGI connections on localhost on port 9001
- pm = dynamic – we’re going to use a dynamic process manager, which means the number of available child processes will not be fixed and will change dynamically based on our needs
- pm.max_children = 20 – the maximum number of child processes that can be spawned.
- pm.start_servers = 2 – the number of child processes created on startup
- pm.min_spare_servers = 2 – we want at least two child processes in an idle state waiting for connections at all times
- pm.max_spare_servers = 5 – the maximum number of child processes in an idle state. If the number of idle processes is greater than this number, then some child processes will be killed.
All these settings depend on the number of resources available on your server and how much resources your application needs.
HAProxy configuration
We’re going to set up a minimal HAProxy configuration to get everything up and running. For a more in-depth look of the HAProxy possibilities, check out our HAProxy – sysadmin’s swiss army knife blog post.
global
    chroot      /var/lib/haproxy
    pidfile     /var/run/haproxy.pid
    user        haproxy
    group       haproxy
We want to chroot HAProxy to /var/lib/haproxy for security reasons. We would also like HAProxy to run as the haproxy user and group.
defaults
    mode http
Just sets the default operations mode.
frontend  ft_eth0_cp0
    bind *:80
    default_backend    bk_eth0_cp0
The frontend section tells to bind to port 80 and defines our default (and only) backend.
backend bk_eth0_cp0
    use-fcgi-app test-app-fpm
    server testapp 127.0.0.1:9001 proto fcgi
In the backend section, we defined the backend to be FastCGI enabled and use the configuration defined in the fcgi-app test-app-fpm section.
server testapp 127.0.0.1:9001 proto fcgi tells HAProxy that the server is listening on 127.0.0.1:9001 and enables the FastCGI protocol.
fcgi-app test-app-fpm
    docroot /home/testapp/public_html
    index index.php
    path-info ^(/.+\.php)(/.*)?$
In this section we’re defining the configuration for our FastCGI application.
- docroot /home/testapp/public_html – defines the codebase location
- index index.php – the name of the script to be used if no filename was given in the request
- path-info ^(.+\.php)(.*)?$ – the regular expression that HAProxy uses to extract the PHP filename from the request.
Let’s test it out!
For our test case, we created two scripts, “index.php” and “script1.php”.
“script1.php” will just print out the request URI, this will be great to see our path-info directive in action.
curl -i http://example.com/script1.php/a_random_string

HTTP/1.1 200 OK
content-type: text/html; charset=UTF-8
date: Fri, 12 Jun 2020 08:41:22 GMT
content-length: 29

/script1.php/a_random_string
As we can see, the request got routed to the correct script. Great!
Let’s see if we can reach “index.php”. The “index.php” script prints out a string to inform us that we have in fact, reached “index.php”.
curl -i http://example.com/

HTTP/1.1 200 OK
content-type: text/html; charset=UTF-8
date: Fri, 12 Jun 2020 08:43:17 GMT
content-length: 45

you have reached index.php, congratulations!
Awesome.

Optimization
Now that we see that everything is working fine, one might wonder if we can optimize it further.
First of all, our code is running on the same server as HAProxy, so it would make sense to use Unix sockets instead of TCP to communicate with our application. So let’s start with changing our php-fpm configuration.
The first thing we have to change is our listen directive.
listen = '/var/lib/haproxy/php-fpm.sockets/testapp.sock'
Why did we choose this path?
In the global section of the HAProxy configuration, we chrooted HAproxy to /var/lib/haproxy. If we selected a different path, HAProxy wouldn’t be able to access the socket, and we would get a 503 error when we make a request.
Note that removing the chroot directive from the HAProxy configuration would solve the problem as well. However, this is not a recommended approach. We run HAProxy in a chrooted environment to isolate it from the rest of the system and lowering a potential attack surface. Removing chroot in order to have the socket at a different location doesn’t bring any benefits.
The next thing we have to set up is the socket permissions.
listen.owner = testapp
listen.group = haproxy
listen.mode = 0660
We configured socket’s permissions and ownership in such a way that both PHP-FPM pool user and HAProxy have the necessary read and write privileges. At the same time, everyone else can’t access the socket at all.
If you have multiple PHP-FPM pools, make sure that a “haproxy” group owns their sockets. This will allow HAProxy to communicate with all of them while running under the “haproxy” user and group at the same time
It’s important to note here, that our code will not run with the permissions of the “haproxy” group.
We define the user and group for our PHP-FPM process with the following directives:
user = testapp
group = testapp
Let’s now modify the HAProxy configuration to use the Unix socket. We need to change the server line in the backend section.
server testapp /php-fpm.sockets/testapp.sock proto fcgi
Note that we set the path to our socket relative to the chroot directory of HAProxy.
Does it work?
We can now test if everything works as we expect. We created a new script called “id.php” that will print the output of the UNIX id command.
curl -i http://example.com/id.php

HTTP/1.1 200 OK
content-type: text/html; charset=UTF-8
date: Fri, 12 Jun 2020 10:31:34 GMT
content-length: 57

uid=1002(testapp) gid=1002(testapp) groups=1002(testapp)
As we can see, we were able to use the Unix socket and our script will runs with the appropriate permissions.
Let’s stress it out!
Now that we have set everything up, we can take a look at how the system performs under pressure.
We’re going to use Siege to simulate a large number of users and take a look at the performance. It’s important to note that we are limited by the resources available on the machine we’re running our test from, which means the numbers you’re going to see are not the same as you would see with a high traffic website. What we’re trying to see with this test are the relative performance benefits of tweaking various parameters in the HAProxy configuration.
The test will run against another PHP script “stress.php”, which prints prints “hello world” 1000 times, to get the CPU working a bit.
We’re going to leave the configuration as is and run Siege with 100 concurrent users for 10s.
siege -c 100 -t 10s http://example.com/stress.php

{       "transactions":                          111,
        "availability":                       100.00,
        "elapsed_time":                         9.81,
        "data_transferred":                     1.27,
        "response_time":                        5.84,
        "transaction_rate":                    11.31,
        "throughput":                           0.13,
        "concurrency":                         66.08,
        "successful_transactions":               111,
        "failed_transactions":                     0,
        "longest_transaction":                  9.08,
        "shortest_transaction":                 0.05
}
111 successful transactions. Not great, not terrible, but can we do better?
Of course, we can.
Let’s try limiting the number of connections our backend service will accept. To do that, we can set the maxconn and minconn parameters in the server directive in the backend section of the HAProxy config.
server testapp /php-fpm.sockets/testapp.sock proto fcgi minconn 1 maxconn 20
We set our maxconn parameter to be the same as the pm.max_children parameter of our pool configuration.
Let’s re-run the test.
siege -c 100 -t 10s http://example.com/stress.php

{       "transactions":                        19482,
        "availability":                       100.00,
        "elapsed_time":                         9.42,
        "data_transferred":                   222.95,
        "response_time":                        0.05,
        "transaction_rate":                  2068.15,
        "throughput":                          23.67,
        "concurrency":                         99.51,
        "successful_transactions":             19482,
        "failed_transactions":                     0,
        "longest_transaction":                  1.22,
        "shortest_transaction":                 0.04
}
The results look much better. It turns out that limiting the number of requests to the backend increases the overall performance.
To get a better idea of what’s going on and why we decided to limit the number of connections, we can run HAProxy in the foreground in debug mode.
When we run HAProxy without the connection limit, what we see is the requests piling up and not many responses. When the requests stop coming, we’re starting to get responses from the backend. By that time, Siege has already ended the test. Bombarding the application with requests results in poor performance from the application itself.
However, when we limit the number of connection to PHP-FPM, we don’t see requests piling up, and we’re getting a lot more responses.
Conclusion
The concept of proxying requests directly to FastCGI application is definitely interesting and worth exploring.
We saw that it’s not complicated to set up and that HAProxy does a great job as usual.
I’m looking forward to seeing more discussions and ideas about this topic. What’s your opinion on the subject? Have you tried setting up HAProxy as FastCGI proxy? Do you have any tips and tricks in your arsenal that you would like to share?
Let us know in the comments below or get in touch !